The smell of fresh sourdough bread reminds me of my grandmother’s farmhouse. As a kid, I watched her knead dough with care. Now, I want to share that joy with you. This guide is for anyone who loves baking or wants to try artisan bread. You’ll learn to make a crusty, tangy loaf that will impress anyone.
Baking sourdough bread is a journey, not just a recipe. Each loaf shares stories of time, skill, and the tastes around you. Let’s start this artisan bread adventure together. Remember, your first loaf might not look perfect, but it will be special. That’s what makes bread baking so beautiful.
Key Takeaways
- Sourdough bread offers a unique, tangy flavor profile
- Basic ingredients include flour, water, salt, and a sourdough starter
- Patience is key in the bread baking process
- Proper technique enhances texture and flavor
- Each loaf is a learning experience in artisan bread making
Introduction to Sourdough Bread Making
Sourdough bread has a long history, dating back thousands of years. It uses fermented dough for a unique taste and chewy texture. This process involves wild yeast and bacteria that make the bread rise and give it a special flavor.

Sourdough bread is good for your health. The fermentation process makes it easier to digest for some people. It also creates beneficial bacteria that help your gut.
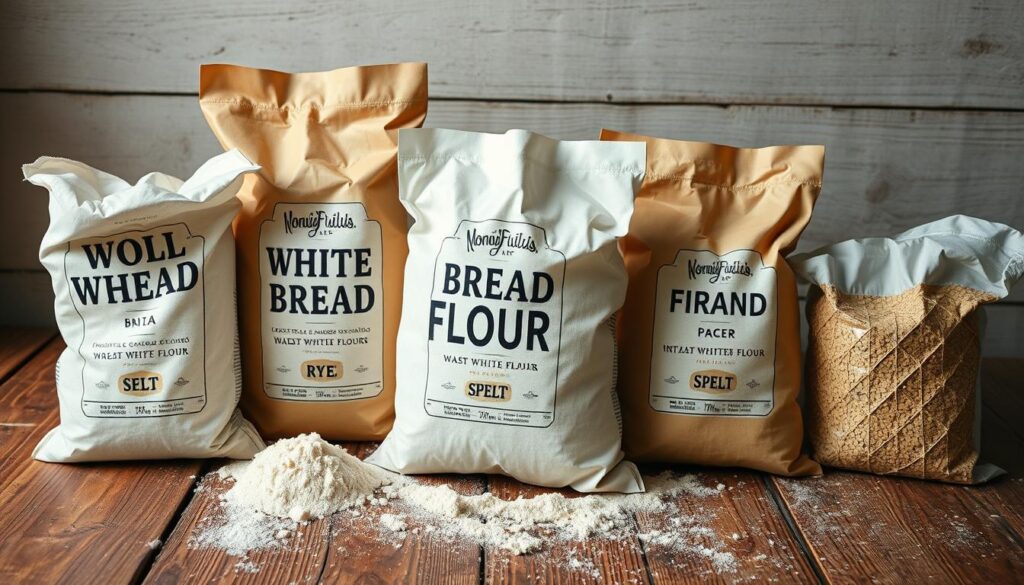
Choosing the right flour is key when making sourdough bread. Many bakers use a mix of whole grain and white flours for the best flavor and texture. The flour type greatly affects the bread’s taste, look, and nutrition.
“Sourdough bread making is not just a culinary skill; it’s a journey into the art and science of fermentation.”
Making sourdough bread takes patience and practice, but it’s rewarding. Starting your sourdough journey lets you make healthy, tasty bread by hand. Next, we’ll look at the important ingredients and techniques you need to get good at this ancient craft.
Essential Ingredients for Sourdough Bread
Making a delicious sourdough loaf begins with choosing the right ingredients. Let’s look at what makes sourdough special.
Flour Types and Their Impact on Flavor
Bread flour is key for a great sourdough. It has lots of protein, which makes the bread chewy and the crust crispy. For a healthier choice, use whole wheat flour for more nutrients and a nutty taste. Try mixing different flours to find your favorite.

The Importance of Salt in Sourdough
Salt is vital in sourdough bread. It boosts the flavor, helps with fermentation, and makes the gluten stronger. Use 1.8-2% salt compared to flour for a big flavor and texture boost.
Water Quality and Temperature Considerations
Water quality changes how the bread ferments and tastes. Avoid using chlorinated water to help the yeast grow. The water’s temperature is also important. Hot water makes fermentation faster, while cold water lets the flavors develop more.
| Ingredient | Function | Tips |
|---|---|---|
| Bread Flour | Provides structure | Use high-protein flour for chewy texture |
| Salt | Enhances flavor, controls fermentation | Use 1.8-2% of flour weight |
| Water | Hydrates flour, activates yeast | Use filtered water at room temperature |
Knowing these key ingredients will help you make a sourdough bread that’s both healthy and delicious. Enjoy a perfect crust every time.
Creating and Maintaining a Sourdough Starter
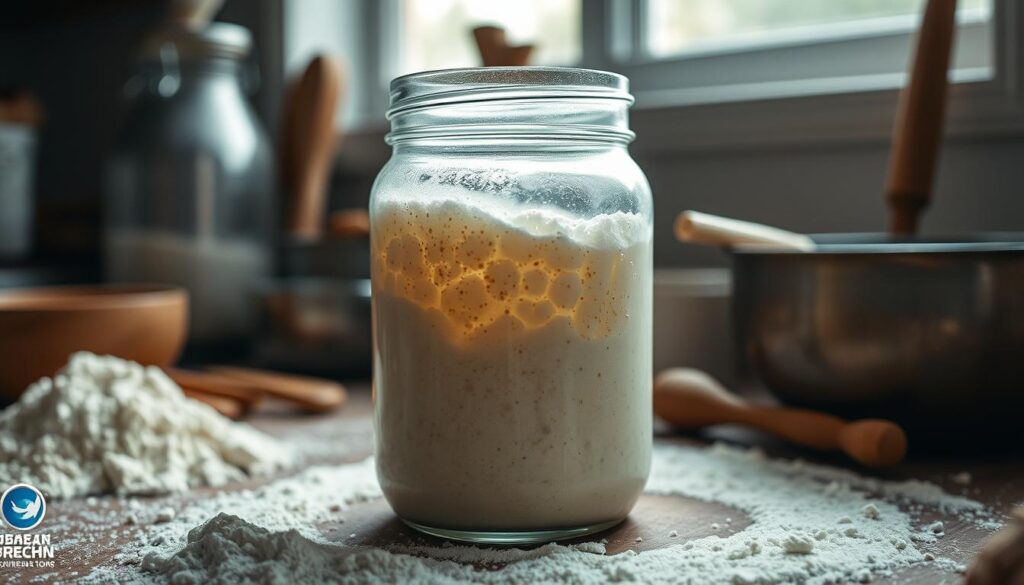
A sourdough starter is the key to amazing sourdough bread. It’s a mix of flour, water, and wild yeast that ferments. Making your own starter is easy but takes time and regular care.

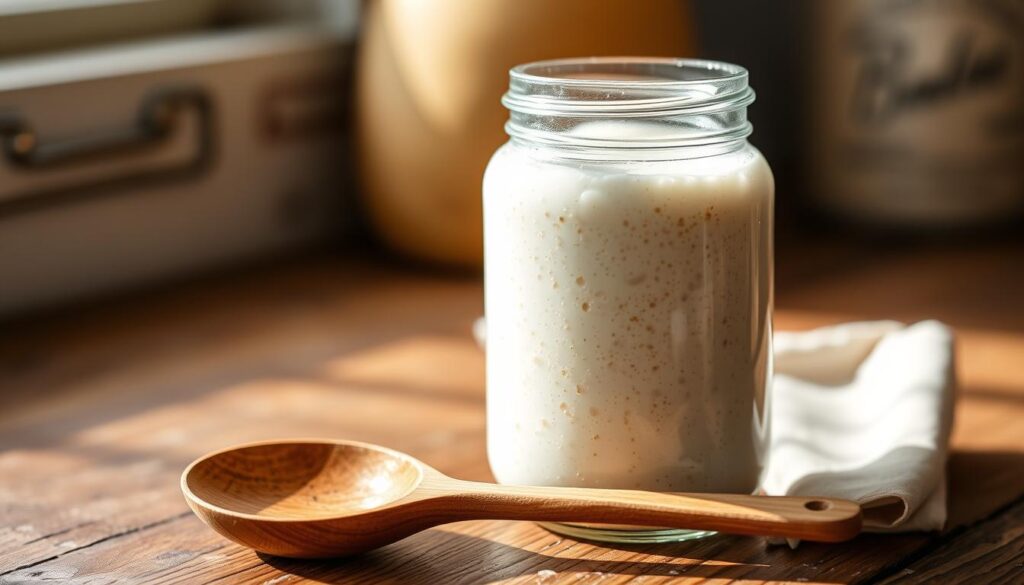
Start by mixing equal parts of flour and water in a clean jar. Keep it at room temperature and feed it fresh flour and water every day. In a week, you’ll see bubbles and smell a tangy aroma. This means your starter is alive and ready for baking.
Keeping your sourdough starter healthy is important for great bread. Feed it often, even if you’re not baking. If you bake less, keep it in the fridge and feed it once a week. Before baking, let it come back to life at room temperature for a few days.
- Use filtered water to avoid chlorine, which can harm beneficial bacteria
- Choose unbleached flour for better fermentation
- Keep your starter in a warm spot, ideally around 70°F (21°C)
Dealing with starter problems is part of the journey. If it smells like acetone or turns pink or orange, start over. A healthy starter should grow in size after feeding and smell pleasantly sour.
“A well-maintained sourdough starter is the secret to exceptional homemade bread. It’s a living tradition that connects us to centuries of baking history.”
With the right care, your sourdough starter can last forever. It will give you delicious, tangy bread for many years. Remember, patience is crucial when using this natural leavening agent.
Step-by-Step Sourdough Bread Recipe
Are you ready to start your sourdough adventure? This easy guide will show you how to make a tasty artisan bread at home. Let’s begin with your first sourdough loaf.
First, mix 500g of bread flour, 350g of water, and 100g of active sourdough starter in a big bowl. Add 10g of salt and mix until all flour is gone. Cover the bowl and let it rest for 30 minutes.
Then, do stretch and folds every 30 minutes for 2 hours. This makes the dough’s gluten stronger, giving your bread a great texture. After the last fold, let the dough rest for 3-4 hours at room temperature.
Shape the dough into a tight ball and put it in a floured proofing basket. Cover and refrigerate it for 12-14 hours. This slow fermentation makes the bread taste better and makes scoring easier.
- Preheat your oven to 450°F (230°C) with a Dutch oven inside
- Carefully transfer your dough to the hot Dutch oven
- Score the top with a sharp knife or razor blade
- Bake covered for 30 minutes, then uncovered for 15-20 minutes until golden brown
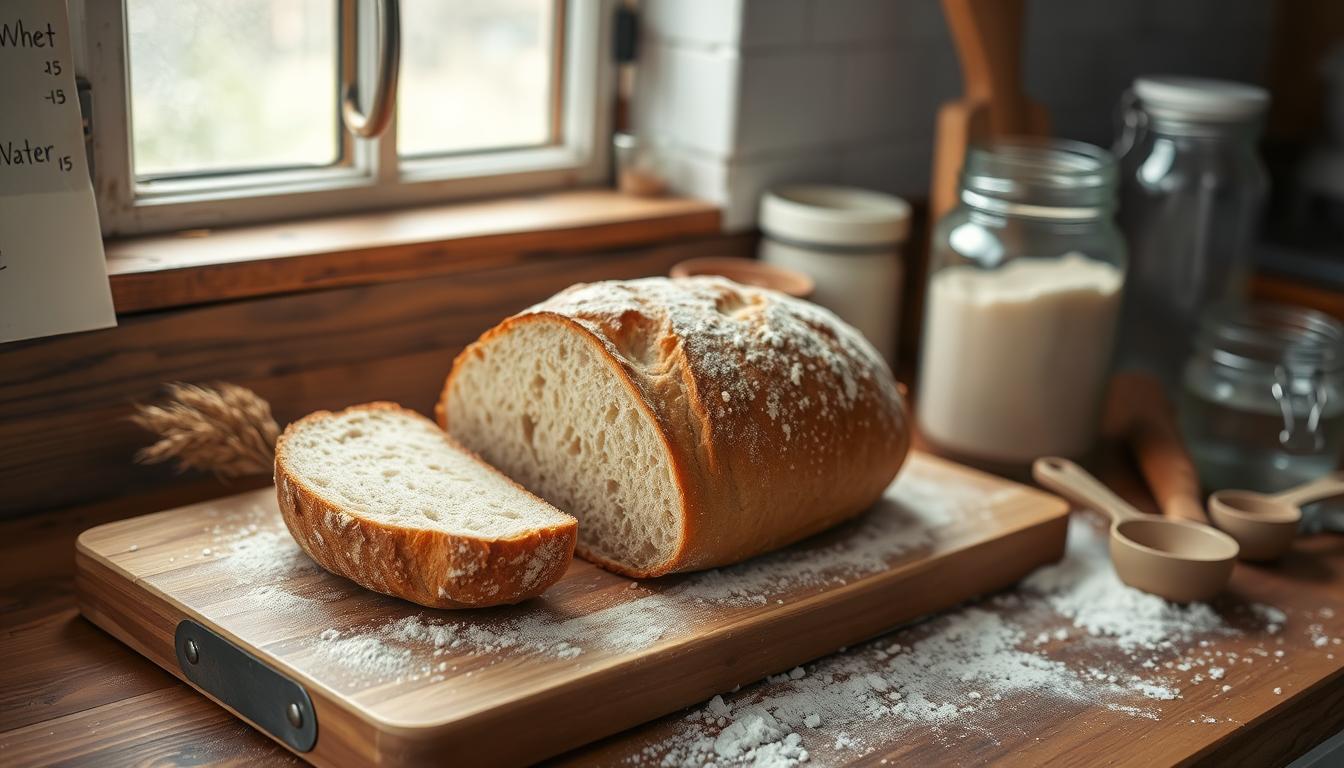
Let your sourdough bread cool completely before you slice it. Enjoy your delicious, crusty loaf, perfect for any meal!
Proofing and Shaping Your Sourdough Loaf
Learning how to proof and shape your sourdough is crucial for a perfect loaf. Proofing lets the dough develop flavor and structure. Shaping gives your bread its final look.
Begin with bulk fermentation, letting the dough rise at room temperature for 4-6 hours. During this time, do gentle stretches and folds. This helps make the bread crumb better.
Once the dough has fermented, shape your loaf. Turn it onto a lightly floured surface. Fold the edges to the center, creating tension. This step is key for a well-shaped loaf with a nice crust.
For the final proofing, put your shaped dough in a proofing basket or bowl covered with a floured cloth. Let it rest in the fridge overnight. This slow, cold fermentation boosts flavor and makes the dough easier to work with.
Before baking, check if your dough is ready by pressing it with your finger. If it springs back slowly, leaving a slight dent, it’s ready. If it springs back fast, it needs more time. If it doesn’t spring back, it’s overproofed.
Remember, sourdough baking takes patience. With the right proofing and shaping, you’ll get a loaf with a great taste, open crumb, and crisp crust.
Mastering the Art of Bread Scoring
Bread scoring is key in sourdough baking. It shapes the loaf’s look and texture. A well-scored bread looks great and rises better in the oven.
Essential Scoring Tools
For perfect scoring, you need the right tools. A lame, a special blade for scoring, is best. Or, use a sharp knife or razor blade. The goal is a tool that makes clean cuts.
Popular Scoring Patterns for Beginners
Begin with simple patterns. A single slash across the top is classic. For round loaves, try a cross or square pattern. As you get better, try leaves or wheat stalk designs. Remember, practice makes perfect.
The Impact of Scoring on Bread Expansion
Scoring changes how your bread expands in the oven. It makes weak points on the surface for controlled expansion. This leads to a better rise and a more attractive crust. Deep scores make big openings, while shallow cuts make subtle ones.
| Scoring Depth | Effect on Bread |
|---|---|
| Shallow (1/8 inch) | Subtle expansion, delicate patterns |
| Medium (1/4 inch) | Balanced expansion, clear patterns |
| Deep (1/2 inch) | Dramatic expansion, bold patterns |
Mastering bread scoring takes time. Don’t worry if your first tries aren’t perfect. With practice, you’ll soon make beautiful, well-risen loaves with stunning crusts.
Baking Methods for the Perfect Crust and Crumb
Mastering baking techniques is key to making the perfect artisan bread. The right method can turn your loaf into a masterpiece. It will have a crispy crust and soft, airy crumb.
Dutch ovens are a must-have for home bakers. They trap steam, creating a moist environment. This is essential for developing a crispy crust. Make sure to preheat your Dutch oven for 30 minutes before baking.
This ensures even heat distribution, leading to a golden-brown crust. Baking stones are another great option for achieving professional-quality bread. They keep heat well, resulting in a crisp bottom crust. For the best results, put your stone in the oven during preheating.
Steam is vital for crust formation. If you don’t have a Dutch oven, create steam by placing a pan of hot water in the oven as it preheats. This simulates the steamy environment of professional bakeries.
- For a thick, chewy crust: Bake at a higher temperature (450°F) for the first 15 minutes
- For a thinner, crispier crust: Lower the temperature to 400°F after the initial 15 minutes
- For a softer crust: Brush the loaf with melted butter right after baking
Remember, practice makes perfect. Try out these methods to find what works best for your ideal artisan bread. Soon, you’ll be making bakery-worthy loaves with beautiful crusts and perfectly textured crumbs in your own kitchen.
Troubleshooting Common Sourdough Bread Issues
Baking sourdough bread can be tricky, but don’t worry! We’re here to help you overcome common hurdles. Let’s explore some issues you might face and how to fix them.
Dealing with Dense or Gummy Bread
If your sourdough bread recipe yields a dense or gummy loaf, it’s often due to underfermentation. Try extending your bulk fermentation time or increasing the room temperature slightly. Make sure your starter is active and bubbly before using it in your bread baking process.
Fixing Overproofed or Underproofed Dough
Proper proofing is key to a great sourdough bread. Underproofed dough results in a dense loaf, while overproofed dough can collapse during baking. Learn to recognize when your dough is ready by gently poking it. If it springs back slowly, it’s perfect for baking.
Addressing Flavor Imbalances
Flavor issues in your sourdough bread recipe might stem from an imbalanced starter or incorrect fermentation times. Adjust the feeding schedule of your starter and experiment with different fermentation periods to achieve the perfect tangy flavor in your bread baking adventures.


